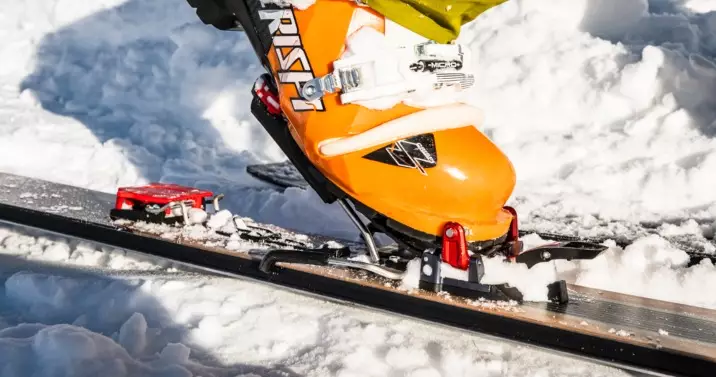
Mounting your MEIDJO telemark binding on your skis is an important process that must be done with care to ensure optimal performance and maximum safety.
Your Meidjo is one of the most important parts of your equipment - its assembly is a crucial process that must be done correctly to ensure optimum performance and safety. In this article we will go through the key steps to mount your MEIDJO and some tips to help you get the best possible results.
Getting the right size of Meidjo
The first step in mounting your MEIDJO binding is to choose the right binding size. To do this, you need to know the length of your ski boot sole in millimetres. You can usually find the size on the side or bottom of your ski boot. Once you have found the size, you can choose between a MEIDJO Small binding for a boot size between 22.5mm and 26mm or a MEIDJO Large binding for a boot size between 26.5mm and 31mm. For Scott shoes, note that the size range is slightly different: Small from 22.5mm to 25.5mm and Large from 26mm to 31mm.

Find all our MEIDJO bindings on this product page.
Print the assembly template
You should print out the mounting template, checking the print scale to ensure that the template is the correct size. This will help you position the mounting holes in the right place on your skis.
If you are not comfortable printing a template, you can also get a ROXBOT template with special MEIDJO plates.
Marking the drilling points
Once you have the mounting template, you need to find the mounting point on your skis. The mounting point is where the binding will be attached and should be located at the optimum position for optimal performance. The manufacturer of your skis will normally have marked this point on the skis, but if not, you can measure the distance from the front end of the ski.
Next, you can mark the mounting holes by using a centre punch or similar tool to mark the centre of each mounting hole on your skis. This will help you to ensure that the holes are drilled in the correct position. Next, you can drill the mounting holes using a drill bit that matches the size of the screws supplied with the MEIDJO binding. Be sure to drill straight and to the correct depth to avoid damage.
Mounting your MEIJDO
After drilling the holes, you can fix the binding using the screws supplied with the MEIDJO bracket. Tighten the screws firmly, but be careful not to overtighten them as this may damage the inserts. Once the binding is attached, you can adjust it to fit your shoe properly. Follow the instructions provided with the binding to adjust the heel and toe pieces to the correct position for the length of your boot sole.
Test before skiing
Before skiing, it is important to test the binding to ensure that it is working properly. Check the release function by entering the binding and applying pressure to the heel piece. The binding should release smoothly and easily when the release function is set correctly.

Finally, it is important to note that improperly fitted bindings can not only affect the performance of your equipment, but also compromise your safety on the slopes. This is why it is crucial to follow the instructions carefully when mounting your MEIDJO. You can find many tutorials on our website. However, if you have any doubts or questions about mounting your binding, it is always best to ask a professional or a trusted ski shop for help. A professional will be able to advise you on the correct size and mounting point for your equipment, as well as the adjustments needed for optimum performance and safety.
You can find many tutorials on our website. However, if you don't feel comfortable mounting your MEIDJO binding yourself, it's always a good idea to ask a professional ski technician or a trusted ski shop for help. A professional can ensure that the binding is fitted correctly and can make any necessary adjustments to ensure optimum performance and safety.


